(Mac/Linux/Win) Write LaTeX with VSCode or Jetbrains IDE
[Mac/Linux/Win] Write LaTeX with VSCode or Jetbrains IDE
Part 1. Install LaTeX
macOS: Install MacTex (TexShop)
Link: https://www.tug.org/mactex/
Note: there are two versions. The larger one takes approximately 4G, and the smaller one is 100M. The larger one is highly recommended unless your computer is really short of storage, otherwise, you may encounter problems like the loss of ctex package.
Linux: Install texlive
Install texlive-full with your package manager. For example, install with sudo apt install texlive-full on ubuntu or debian.
Windows:
Link: https://tug.org/texlive/windows.html
Find “Easy install” on the webpage and download install-tl-windows.exe, then open it and install.
Part 2. VSCode comfiguration
1.Install plugin
Install plugin LaTeX WorkShop and LaTeX Lauguage Support in vscode.
2. Modify settings.json
Add the following:
1 | |
Note: You can use Command + Shift + P ( Ctrl + Shift + P ) and search for ‘settings’, and select Preferences: Open Settings (JSON)
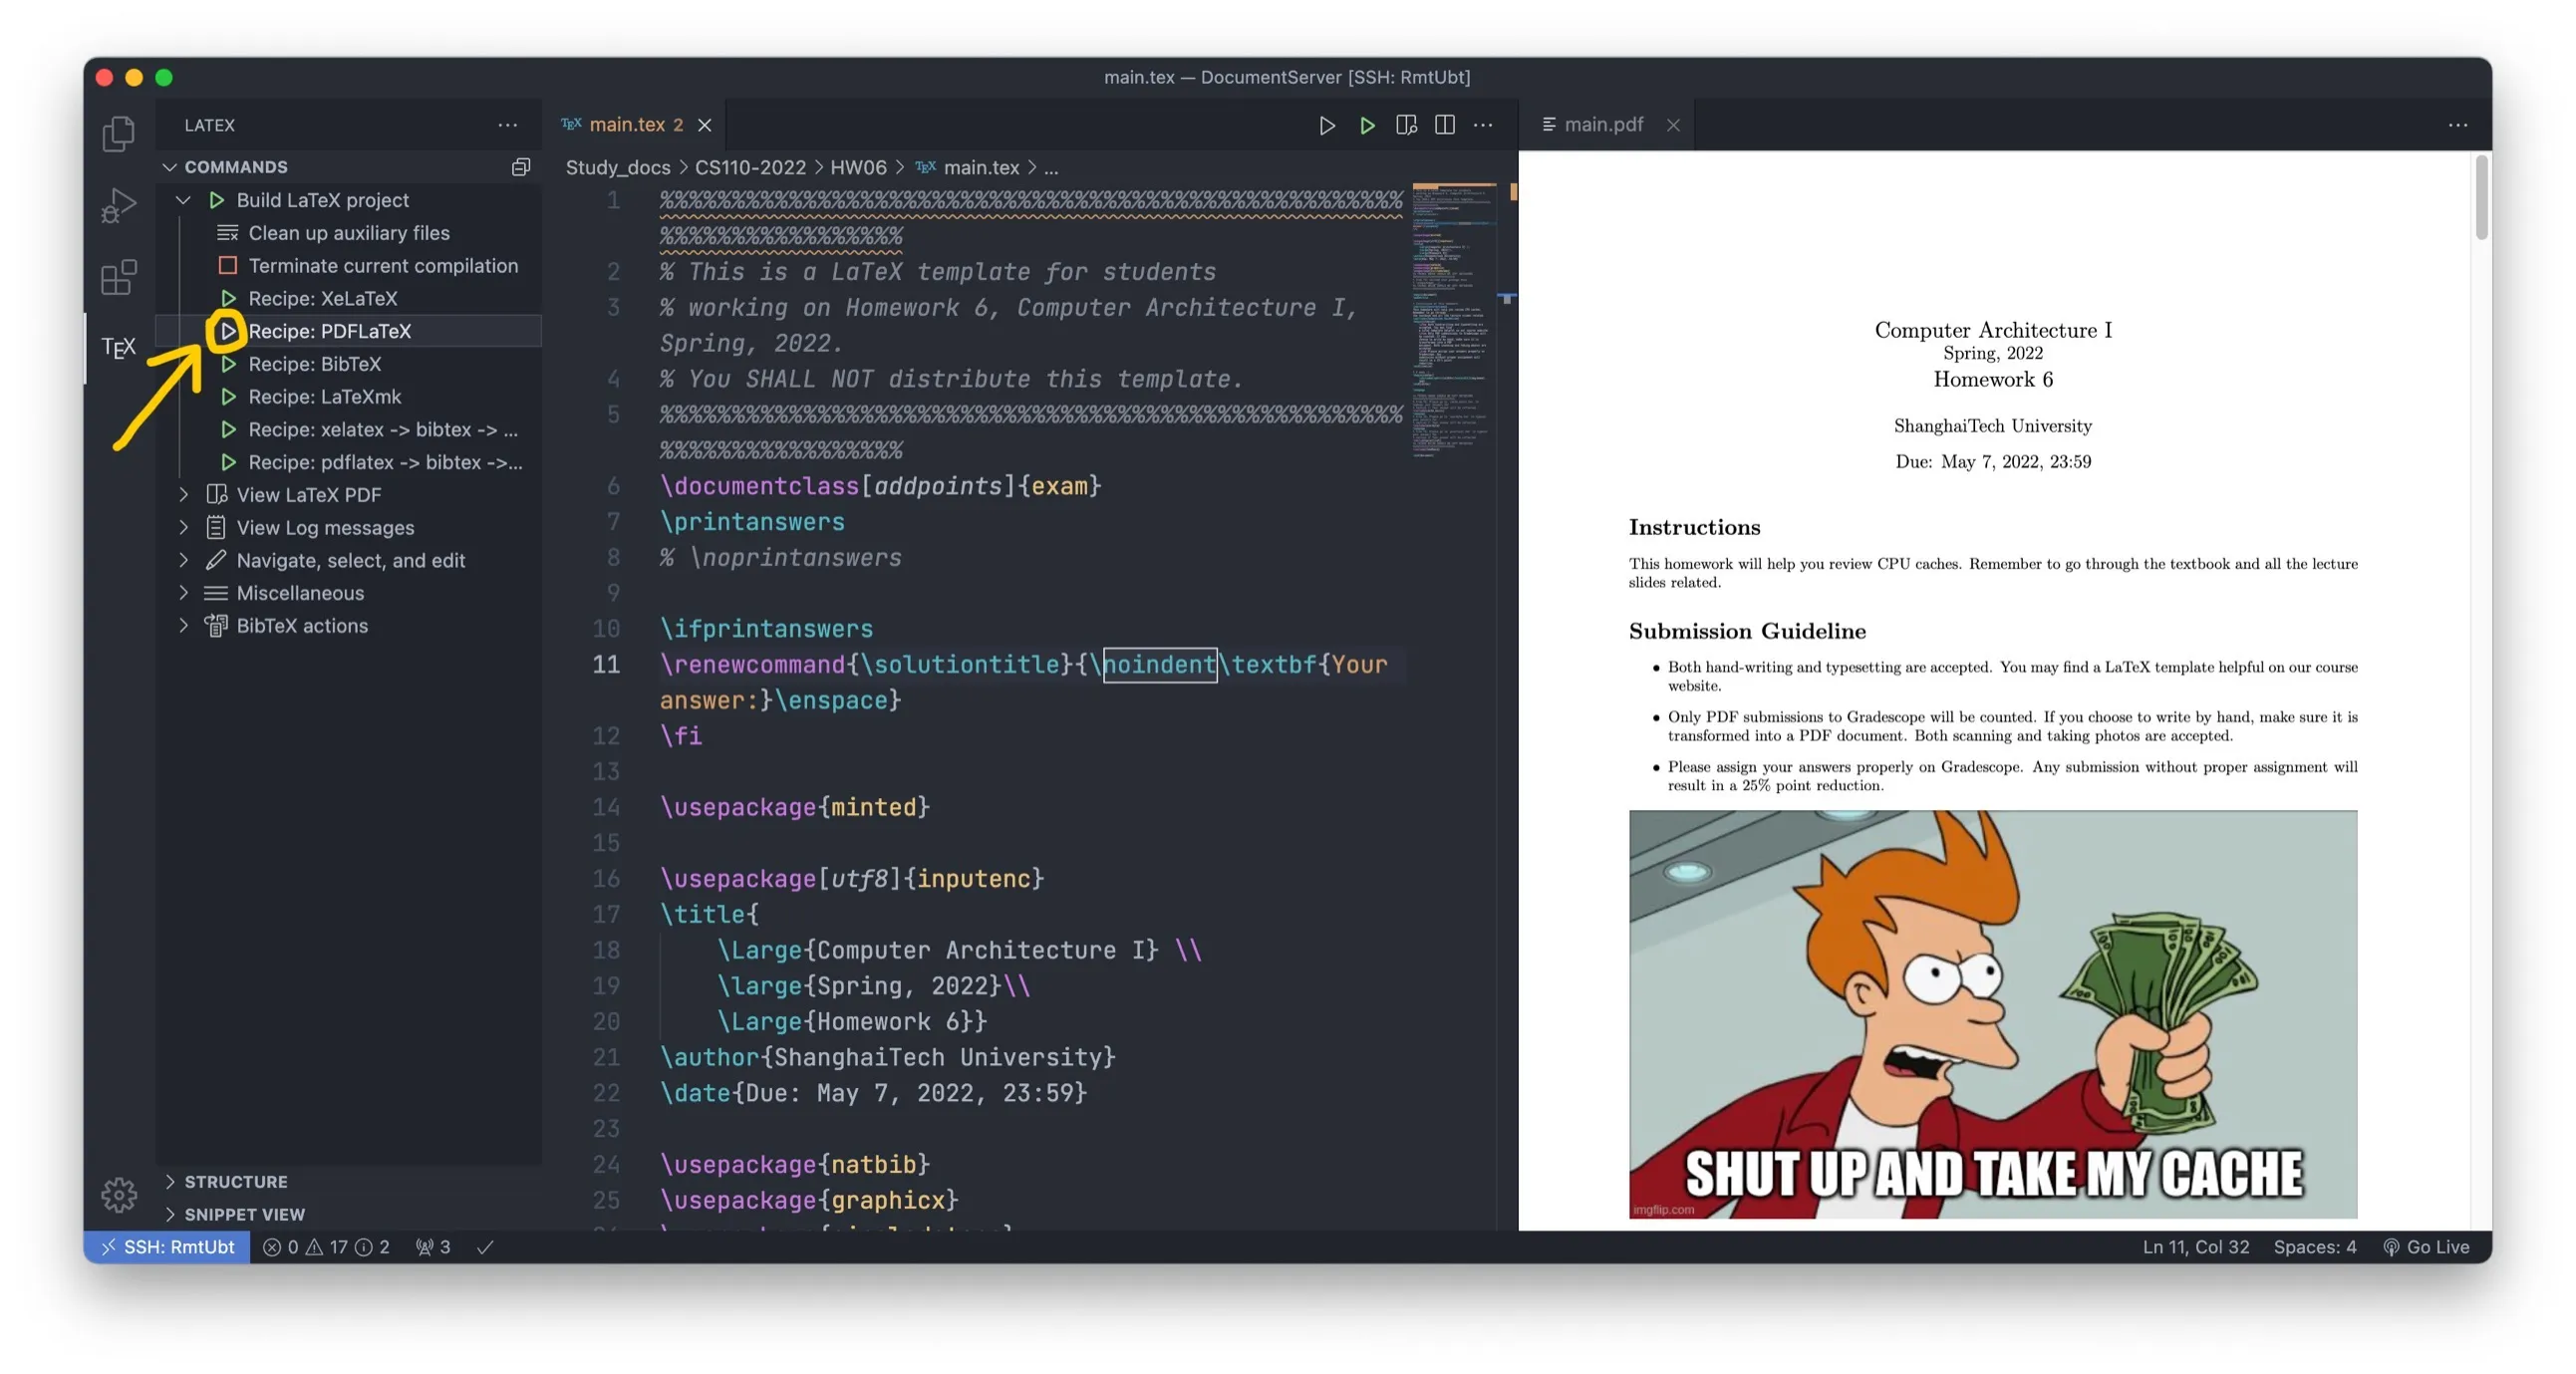
Click “tex” in the left column bar, and inside Build LaTeX Project menu, choose one at your need. Usually PDFLatex or XeLaTeX is fine.
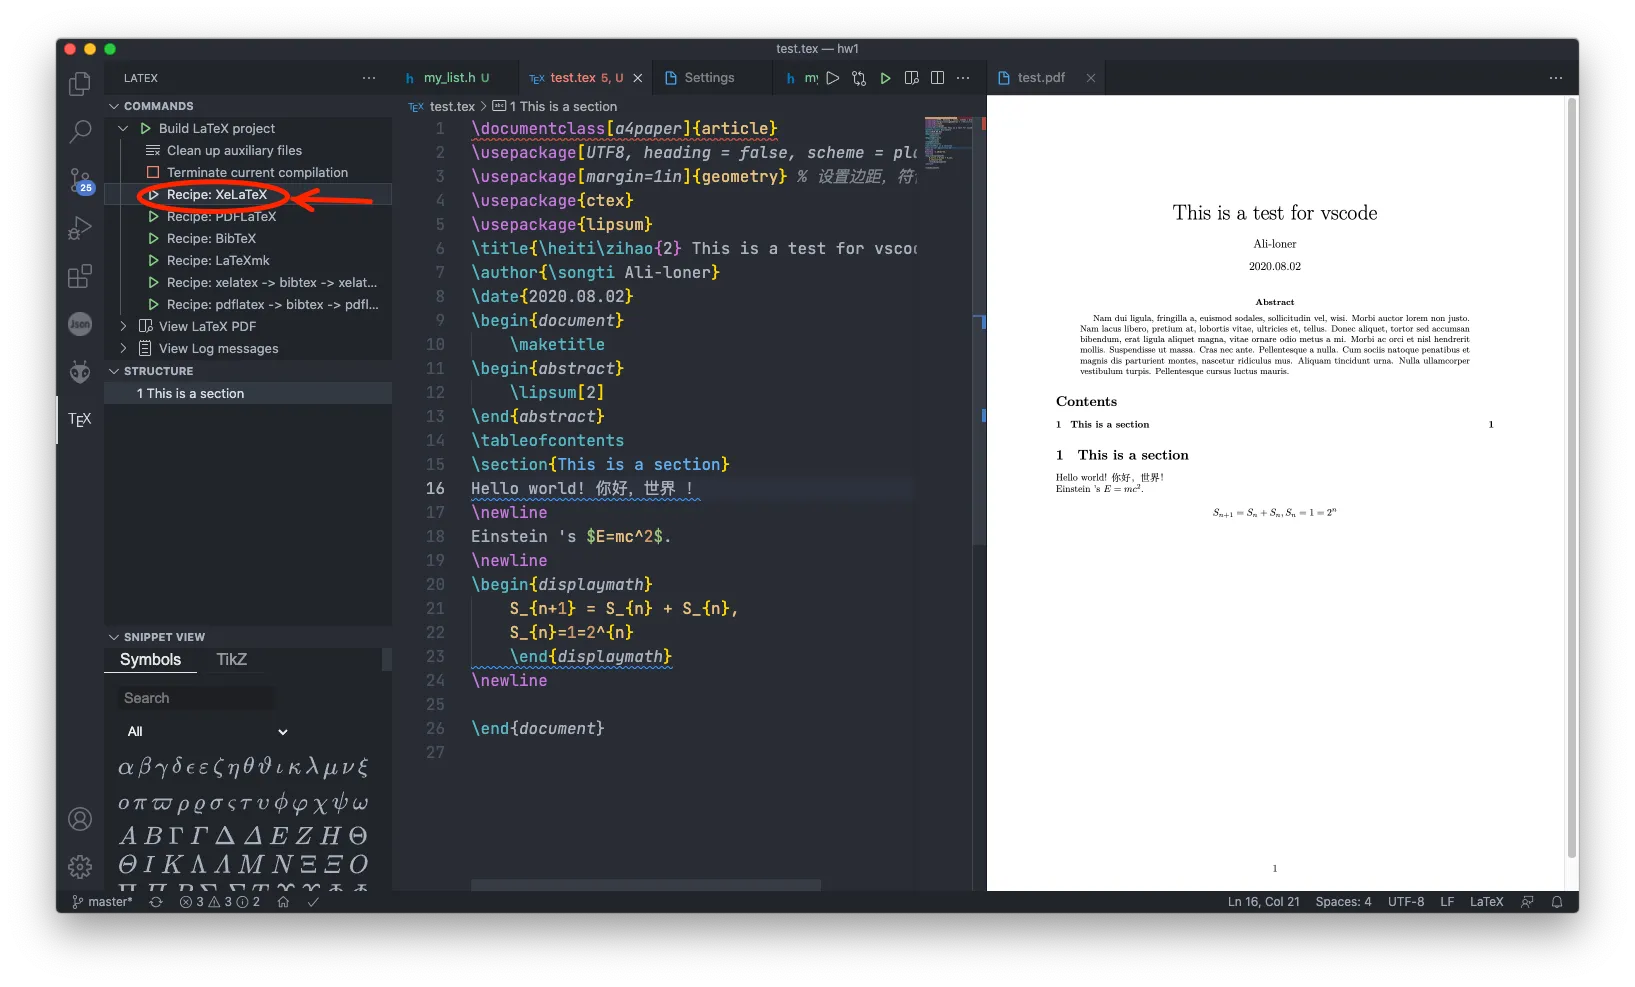
Now the latex will automatically compile every time you save the file. (CMD+S to save)
3. How to support Chinese
Make sure the latex file encoding is ‘UTF-8’, and add a package at the top:
1 | |
Part 3. JetBrains IDE configuration
(Intellij IDEA is taken as an example. Same for others like PyCharm, CLion, …)
1. Install plugin
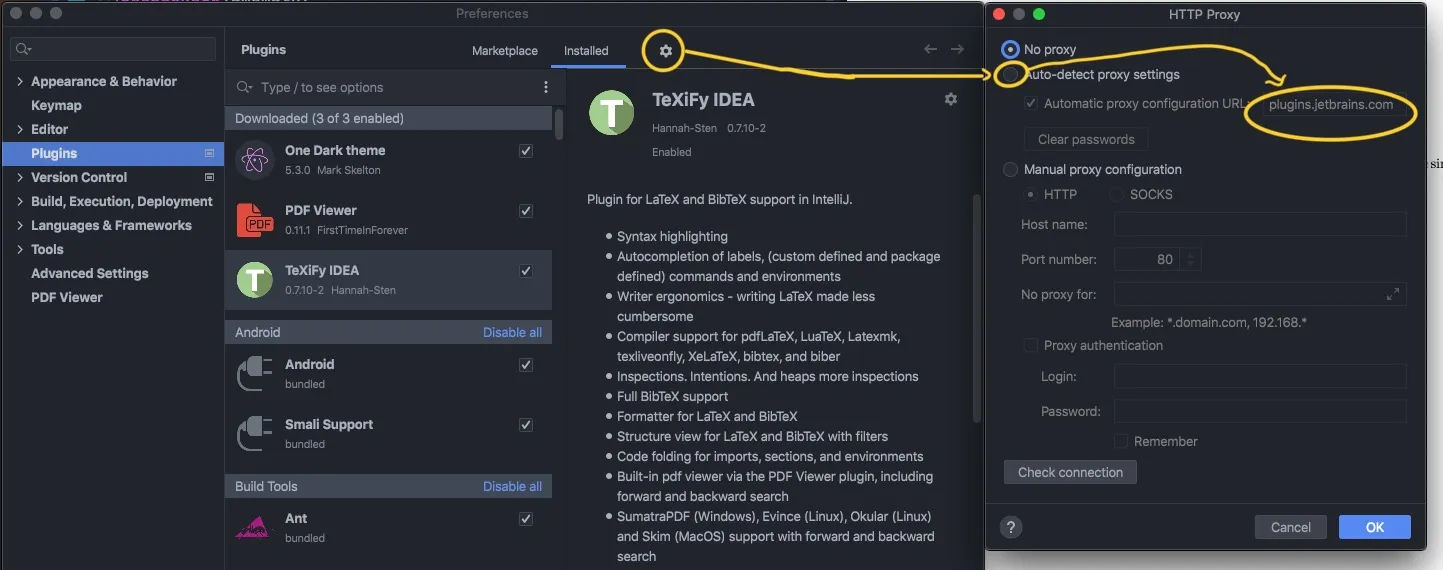
In Preference -> Plugins, download and install TeXiFy IDEA and `PDF Viewer.
If it cannot find anything and warns a network issue, try settings -> Auto-detect proxy settings -> Fill in plugins.jetbrains.com
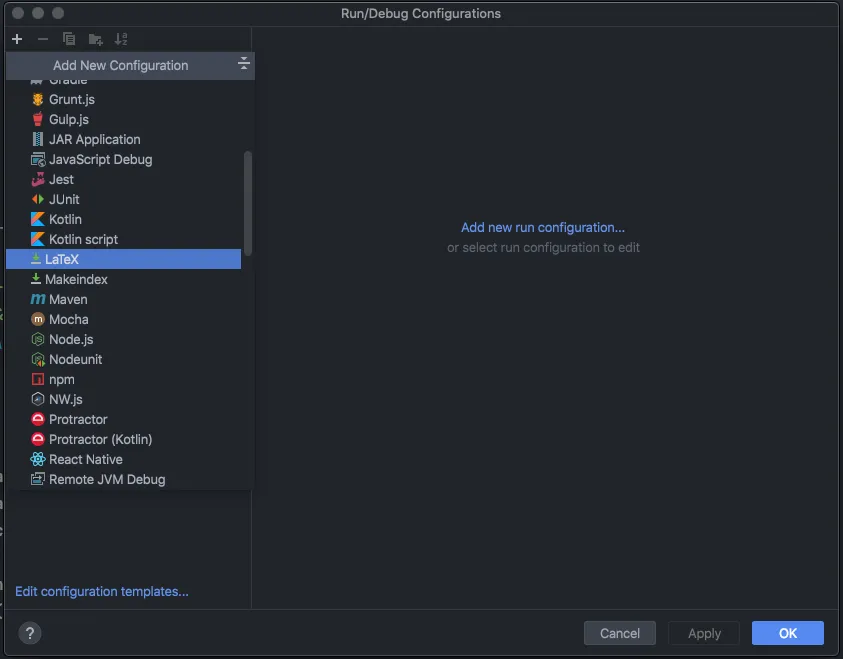
2. Edit Configurations
Create a file with .tex extension, and click Add Configuration at the top-right corner

Click the + Button at top-left, and select LaTeX
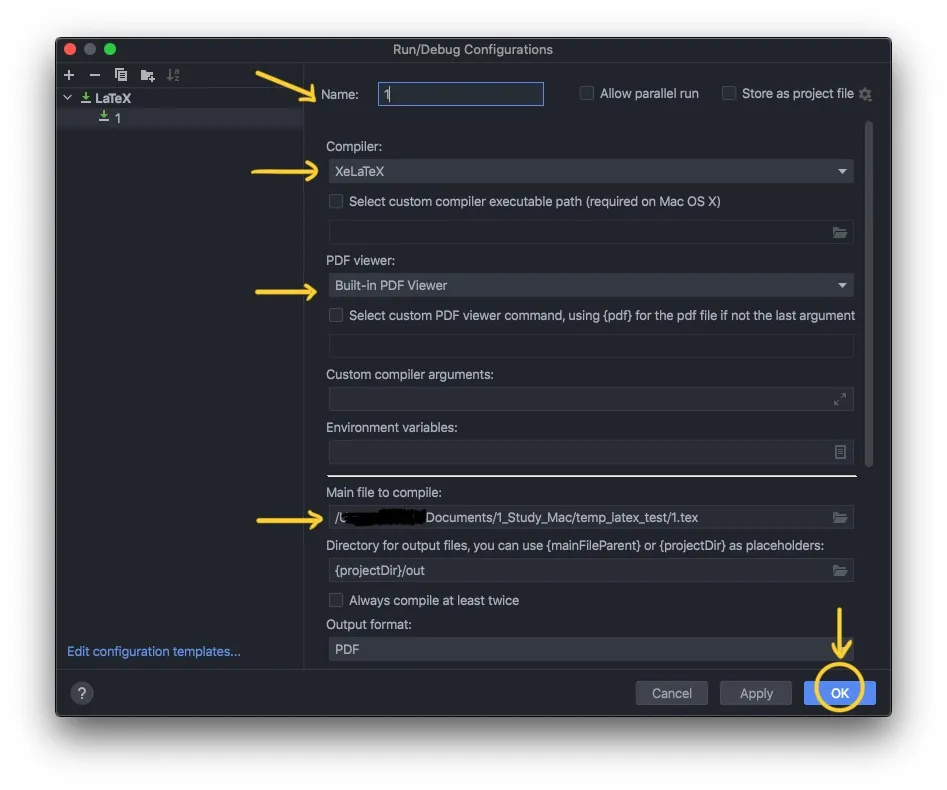
‘Name’ can be anything (e.g. the tex file name);
‘Compiler’: choose XeLaTeX;
‘PDF Viewer’: Choose Built-in PDF Viewer;
‘Main File to compile’: Choose the tex file you want to compile.
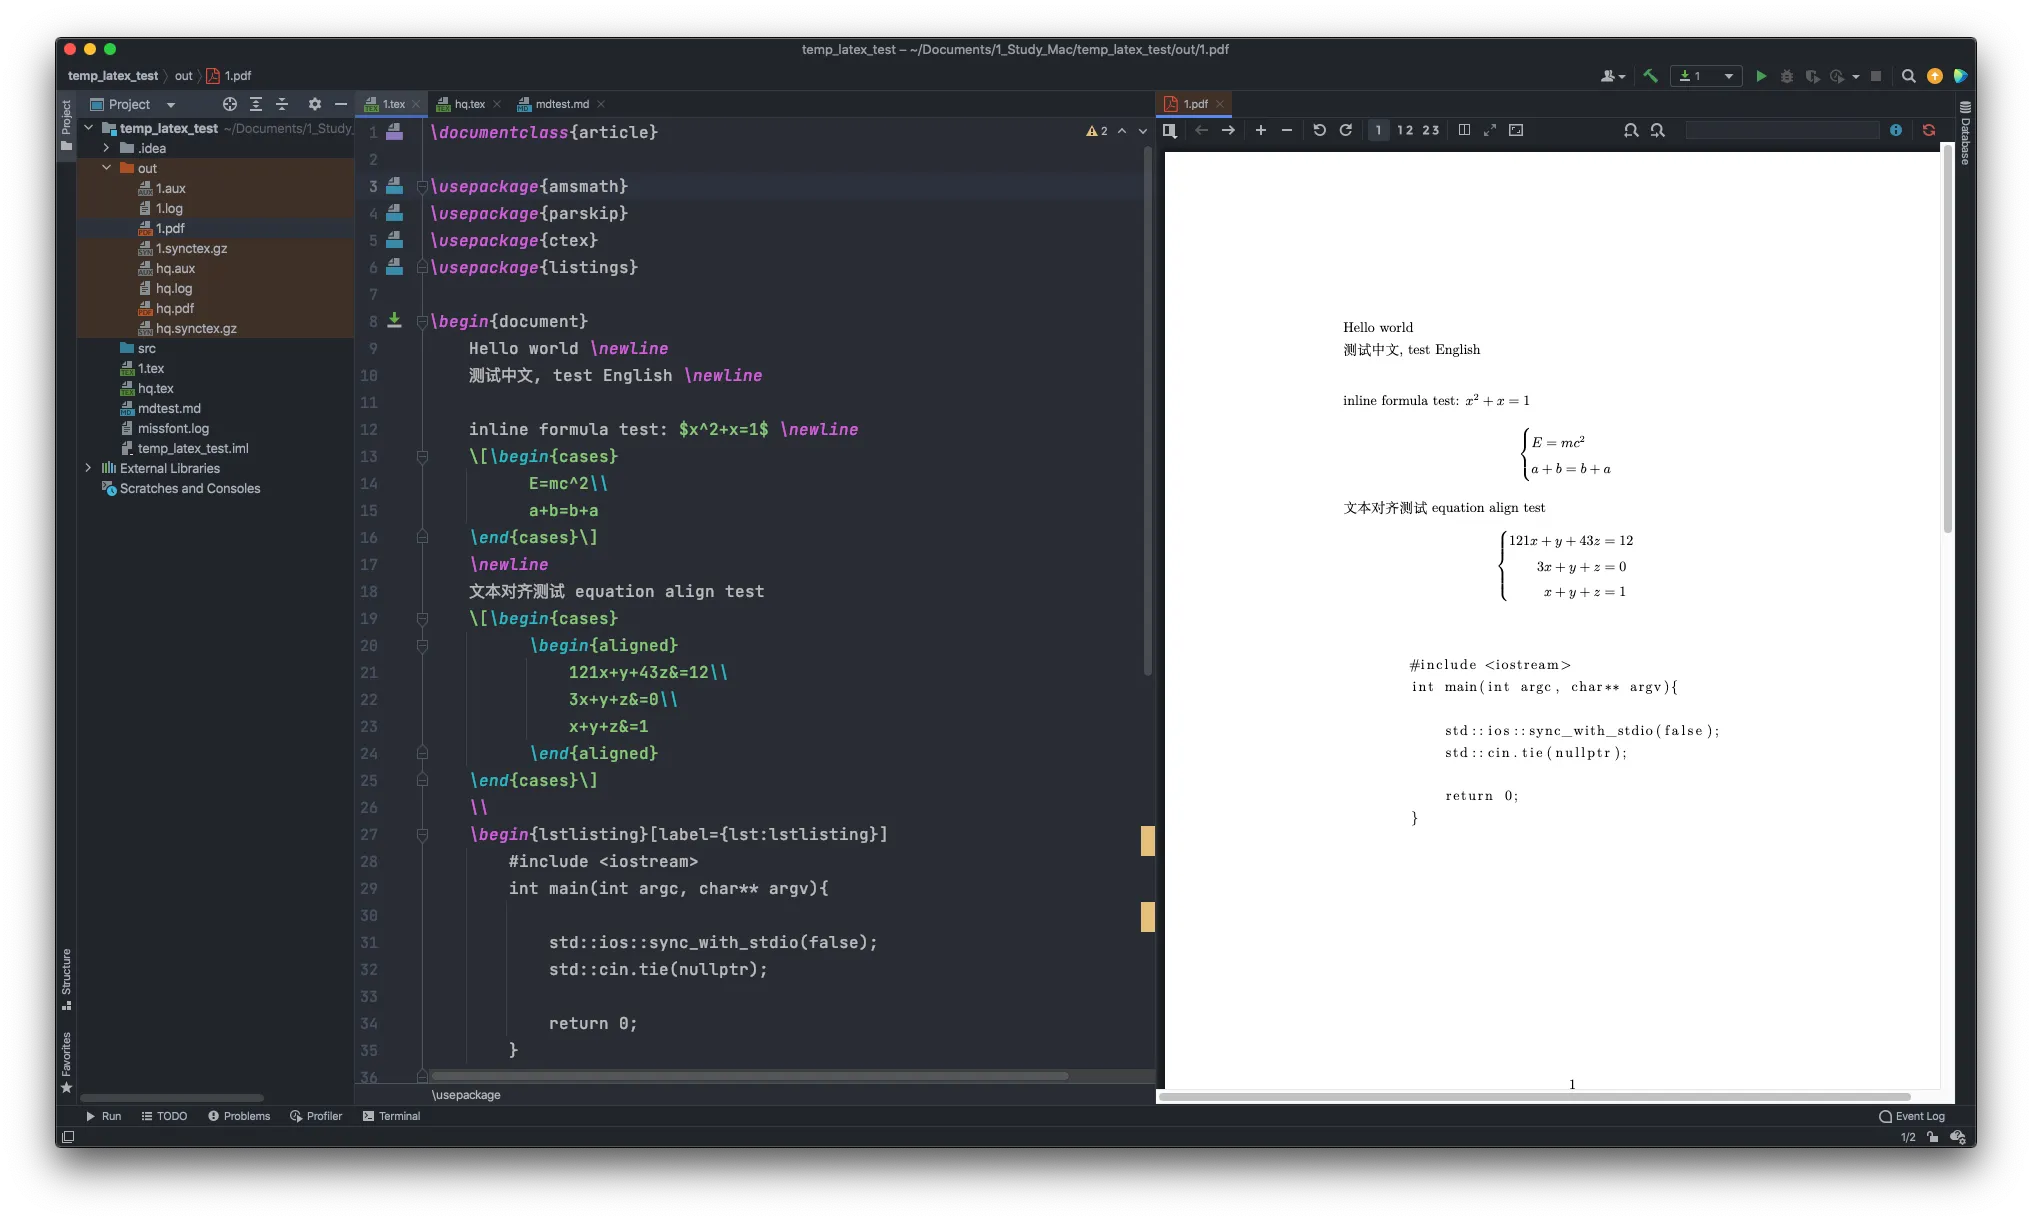
3. Compile LaTeX
Click the green ‘run’ button on the top-right corner, or use Control + R to compile LaTeX and get PDF. At this time, the plugin will toggle a split-screen (left side is LaTeX, and right side is the PDF viewer). If it does not automatically split-screen, drag the pdf in ./out folder to create a split-screen.
Each time you useControl + R, the latex will compile and the PDF will be updated.
How to use minted package in latex
In short, minted can highlight codes with the help of pygments. It can be used with
1 | |
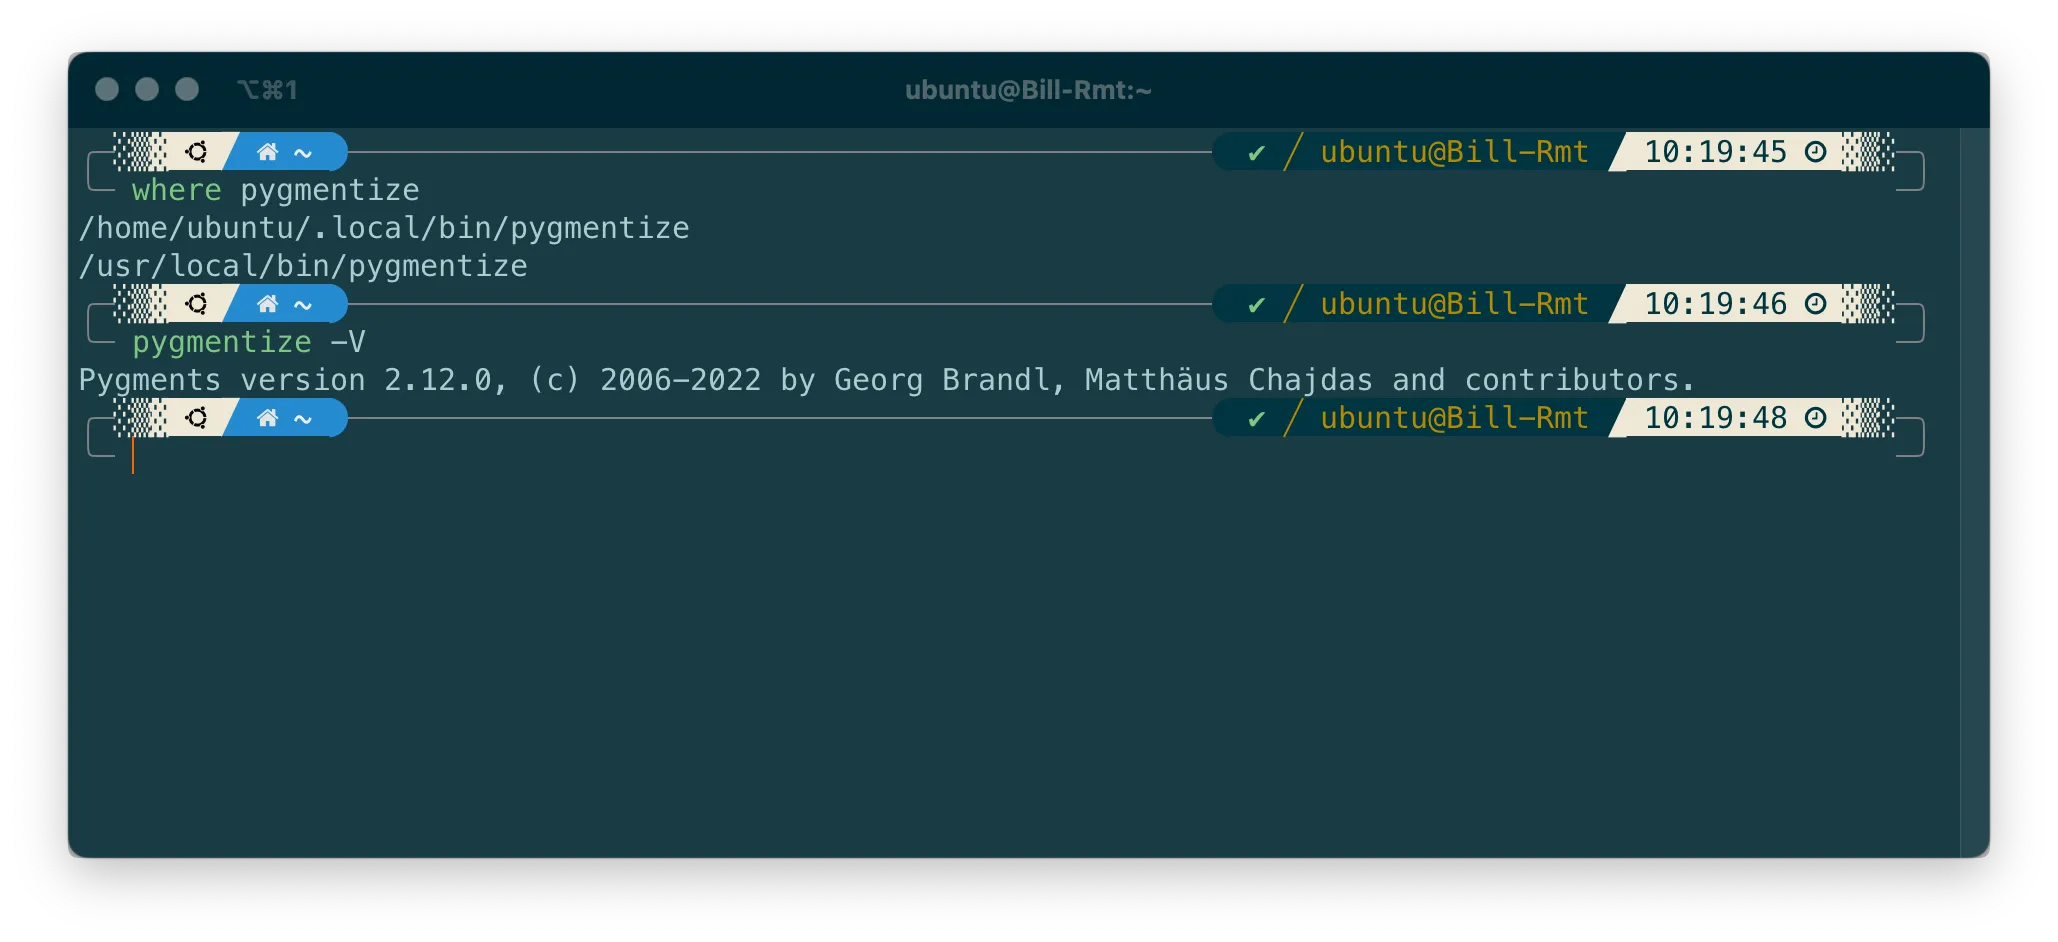
It cannot be use directly. You need to install python3 and pygments first.
1 | |
And you have to make sure pygmentize is in your PATH.
Modify corresponding configuration in VSCode settings.json, add --shell-escape to the args in PDFLatex, like the following:
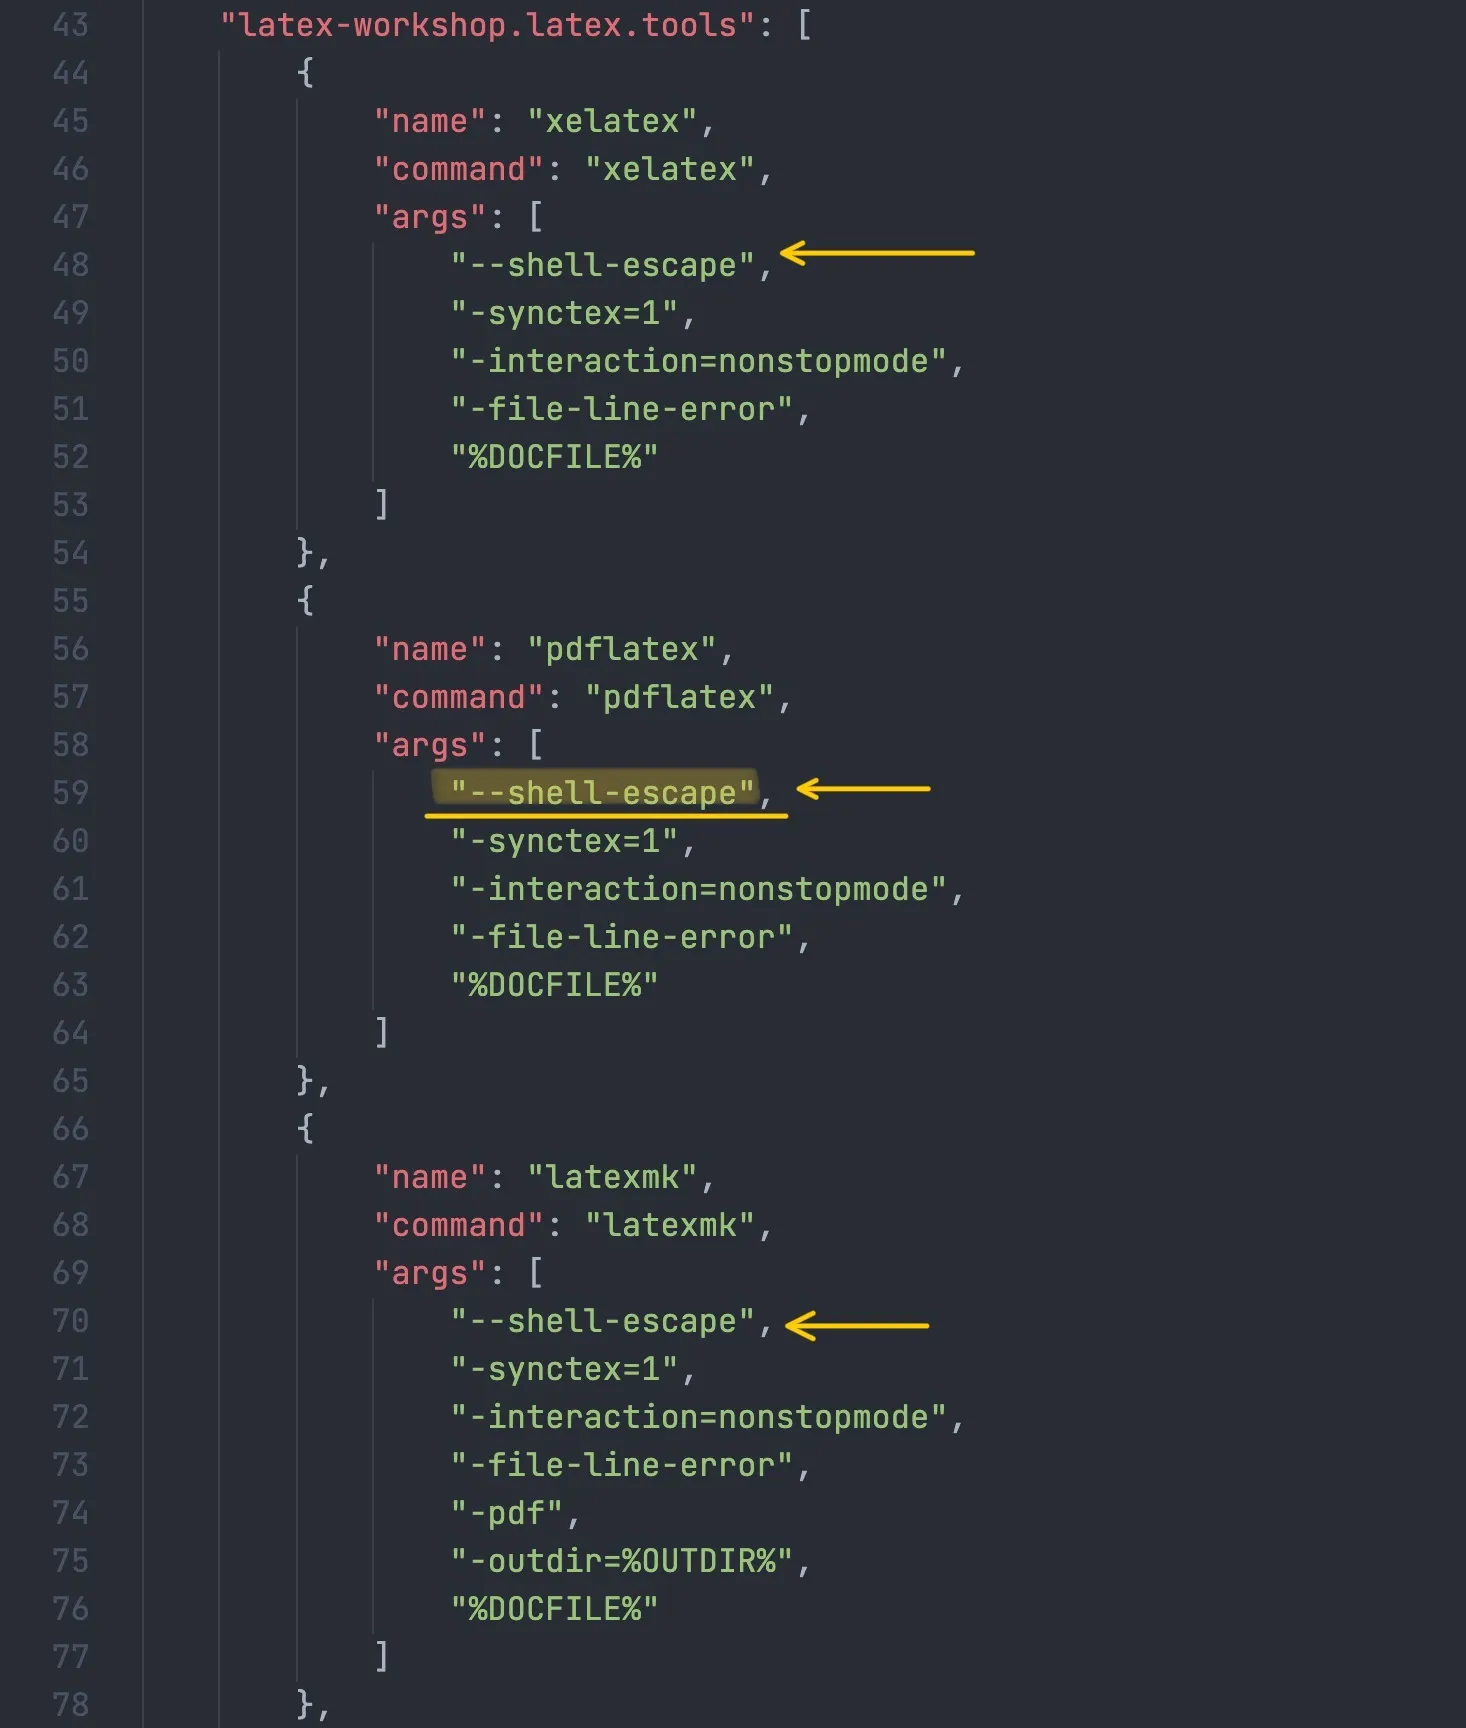
Then remove .aux files from auto-clean file types. (.aux file records all the reference numbers, without which references \ref may be compiled to ??)

Then you should be able to use minted!