HomeAssistant on Raspberry Pi
Installation (using pyenv)
Step1. Create a pyenv
First, we need to make sure python3 is installed. It’s recommended to set the pip registery to a domestic source.
1 | |
Then, create a python3 virtual environment, or pyenv, at /opt/homeassistant
1 | |
Step2. Enter pyenv and install homeassistant
We can enter into the venv by
1 | |
If you use ‘oh-my-zsh’, you can see a prefix named (homeassistant) in the interactive shell.
Then, inside the venv, execute
1 | |
The above may take some time, depending on your network condition.
After that, execute hass to start homeassistant service. It may take tremendous time at first executation. On raspi 3B, it takes about 20 to 30 minutes.
1 | |

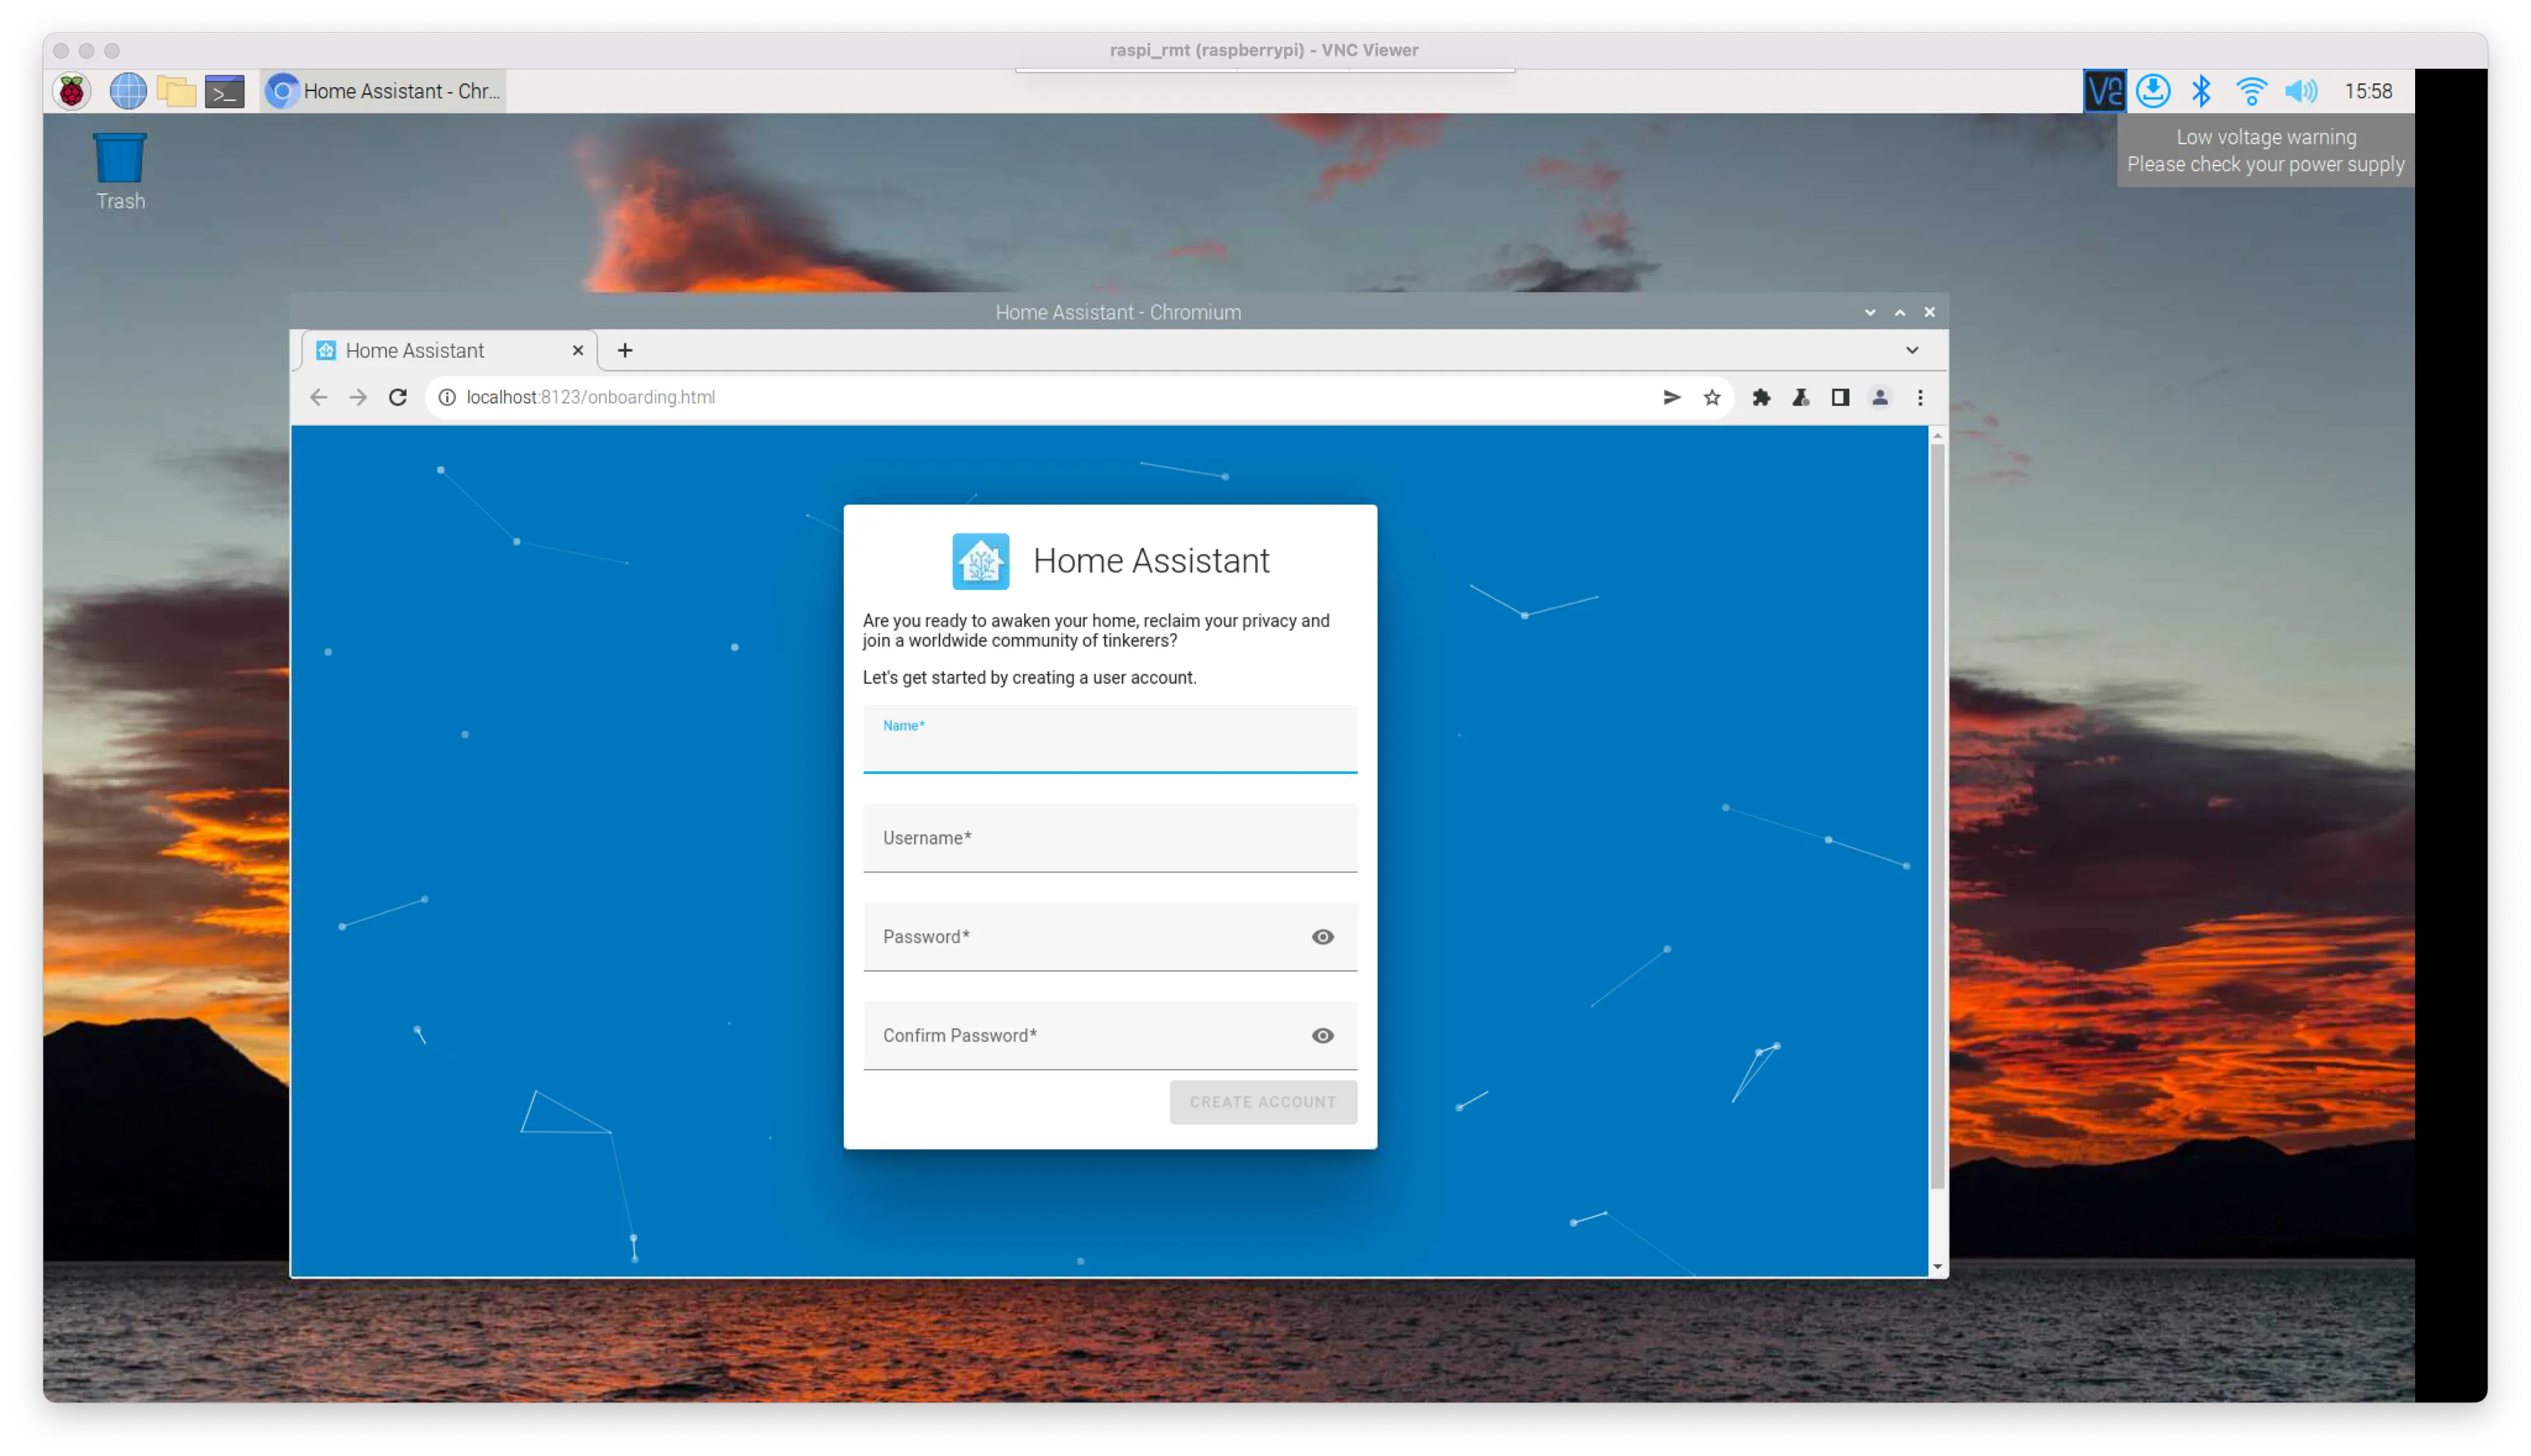
You can visit homeassistant.local or <IP>:8123 (replace <IP> with your raspberry pi’s ip addr), and wait until the homeassistant welcome page appears.

Step3. Autostart
1 | |
Inside it, enter the following:
1 | |
Save and exit, and then
1 | |
Install HACS
Step1. Download hacs plugin from github
The github address is https://github.com/hacs/integration/releases/tag/1.24.5
Make two folders custom_components and www inside the homeassistant’s root folder
1 | |
And extract the hacs you downloaded to the custom_components/hacs folder.
Restart the homeassistant service, and you should see ‘HACS’ in the left sidebar.
You may need to authorize github for the first time you launch HACS.
Reference: